
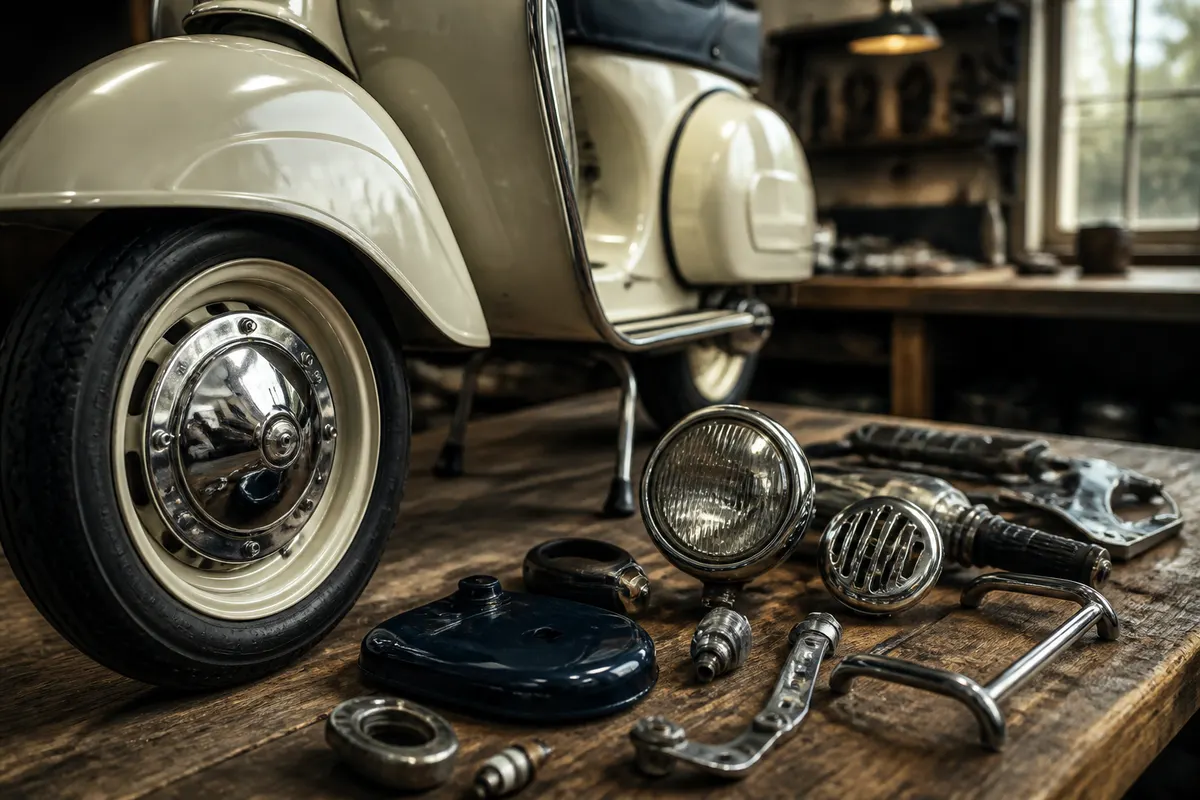
Vespa Restoration Parts: A Buying Checklist
A Vespa restoration is easier to manage when parts are selected from a plan rather than bought whenever something attractive appears online. Scooters that share a familiar silhouette can differ by production period, market, engine family and previous modification. Building a referenced list before ordering helps control the budget, prevents duplicate purchases and reduces the chance of receiving a component that looks correct but does not fit.
Define the restoration you are undertaking
Decide whether the goal is a faithful factory-style restoration, a dependable rider with sympathetic upgrades or a cosmetic refresh. That decision affects almost every purchase. A concours-style project may prioritise period-correct finishes and fasteners, while a frequently ridden scooter may place greater value on reliability, serviceability and discreet modern improvements.
Write down the scope and divide it into safety, mechanical, electrical, bodywork and trim. Set aside a contingency for damage discovered after dismantling. A clear scope makes it easier to judge whether a part is essential, useful while access is available or simply a desirable extra.
Record the scooter before dismantling
Photograph the complete scooter from every side and then document each assembly before removing it. Capture cable routes, wiring connections, fastener positions, spacer orientation and the order in which washers are fitted. Label bags of hardware and connect each bag to a section of your written parts list.
Record the frame and engine details, existing component numbers and evidence of previous repairs. Do not discard worn parts immediately. Even an unusable original can provide essential dimensions, mounting information and a reference for comparing a replacement.
Inspect the structure before buying cosmetic parts
Body panels can conceal corrosion, poor repairs and alignment problems. Check the frame, floor area, stand mount, suspension attachment points and panel fit before committing money to paint, badges or decorative trim. Structural repairs may change the parts required and should be completed before final panel preparation.
Dry-fit removable panels and major trim pieces while the body is still being prepared. Reproduction items sometimes need minor adjustment, and it is far safer to establish fit before paint is finished. Keep protective film in place where possible, but do not force a poorly aligned component.
Prioritise braking, steering, tyres and suspension
Safety-related systems deserve the first share of the budget. Inspect brake components, control cables, wheel rims, tyres, bearings, steering movement, suspension units and their mounting hardware. Replace consumable items according to their condition rather than appearance alone. Rubber can harden with age even when tread or surface detail remains visible.
Confirm dimensions and mounting arrangements before ordering. Similar-looking cables may vary in total length, outer casing length or end fittings. Bearings and seals should be matched using their measured dimensions and markings. If there is uncertainty around a safety-critical repair, ask an experienced Vespa technician to inspect the scooter.
Build the mechanical list by assembly
Work systematically through the engine, transmission, clutch, fuel system and exhaust rather than creating one unstructured list. Note which parts will be reused, measured, refurbished or replaced. Include gaskets, seals, lock washers, split pins and other small items needed during reassembly.
Avoid ordering internal components solely from an exterior model description. Previous engine changes are common, and internal variations may not be visible until dismantling. Use engine identifiers, measurements and the old component as references. For precision work, confirm tolerances with the repair information appropriate to the exact engine fitted.
Map the electrical system as it exists
Before removing the loom, photograph connections and create simple labels. Record the system voltage, ignition arrangement, switch type, lamp fittings, connector styles and any conversion already carried out. Look for brittle insulation, overheated terminals, improvised joints and poor earth connections.
Decide whether the restoration will retain the existing specification or use a planned conversion. Mixing components from different systems without a complete design can create unreliable charging, weak lighting or damaged equipment. Buy electrical parts as a compatible group and verify connections before applying power.
Choose a consistent approach to trim and finish
Seats, badges, rubber sets, brightwork and controls contribute strongly to the finished appearance. Compare shape, hole spacing, fixing method, finish and included hardware. Colour names can vary between suppliers and screens display colours differently, so use physical samples when an exact match matters.
For visible items, decide where originality matters most and apply that standard consistently. A mixture of unrelated finishes can make an otherwise careful restoration look incomplete. Store polished and painted pieces safely until final assembly to prevent workshop damage.
Compare quality, not only price
Ask what is included and whether a part is new production, refurbished, original old stock or used. The best choice depends on the component and the purpose of the scooter. Review photographs closely, check dimensions and consider the work required to make the item ready for use. A cheaper part that needs extensive correction may cost more overall.
Order in sensible stages
Begin with inspection and measurement items, then order structural and mechanical parts required for dry assembly. Purchase finishing pieces after the scooter’s alignment and specification are confirmed. Keep a spreadsheet or notebook containing supplier, SKU, price, date, compatibility notes and delivery status.
When contacting AE Spares, quote the product SKU and send the scooter details, photographs and key measurements. Check each delivery against the old part before painting, modifying or fitting it. Keep packaging and invoices until the relevant assembly has been completed.
A practical final checklist
Before the first ride, confirm that all fasteners are secure, controls move freely, cables follow safe routes, brakes operate correctly, tyres are suitable, lights and charging function as intended and there are no fuel or oil leaks. Recheck the scooter after a short controlled test because newly assembled parts and cables may settle.
A successful Vespa restoration is built on records, measurements and staged decisions. By identifying the scooter accurately, prioritising safety and comparing replacement parts before final finishing, you create a project that is easier to assemble, easier to maintain and far more satisfying to ride.